Student Management
For Tutors: Approve incoming student requests, organize learners into custom groups, and send announcements.
Overview
When you have Tutor Mode enabled on your account, the Class Groups panel (under Manage Students) becomes your central hub for managing student connections, organizing private 1-on-1 learners or group cohorts, and broadcasting class announcements.
Approving & Declining Student Requests
Whenever a student searches your email and sends a connection request, it appears at the top of your Class Groups card under Pending Requests:
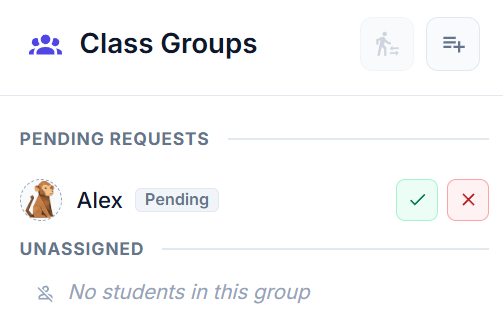
- Approve (): Click the checkmark to accept the student. They will immediately be added to your Unassigned student list.
- Decline (): Click the cross to dismiss the request.
Creating & Managing Groups
Groups allow you to organize students however you like—whether by lesson time ("Monday Afternoon Tutoring"), proficiency ("HSK 2 Beginners"), or 1-on-1 slots.
1. Create a New Group
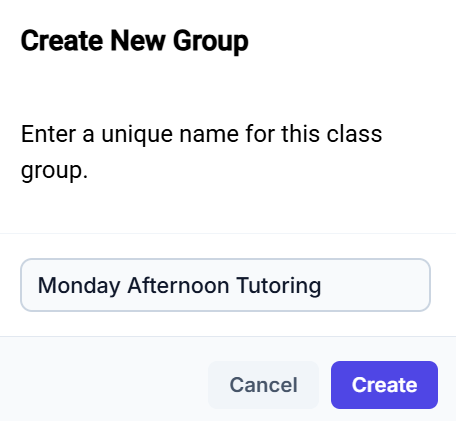
- Click the icon in the top-right corner of the Class Groups card.
- Enter a unique name for your group and click Create.
2. Deleting a Group (Safe Fallback)
To delete a group, click the trash icon () next to that group's title header.
Zero Student Loss
Deleting a group never deletes or unlinks your students. Any students inside a deleted group are automatically and safely moved back to your Unassigned list.
Organizing & Moving Students
You can easily move students between groups as their schedules or learning tiers change:
1. Select Student(s)
Click the checkbox next to any student's name (or select multiple students across your list).
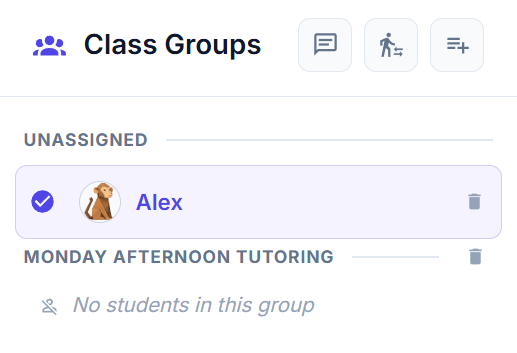
2. Click the Move Button
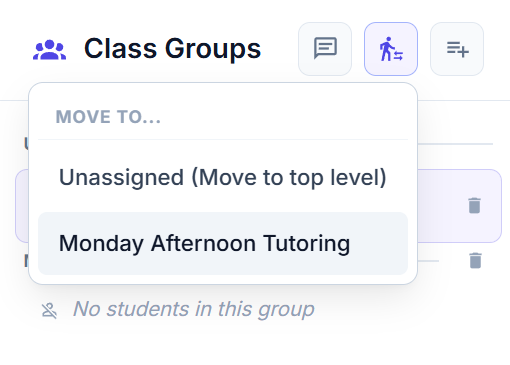
Click the button in the top action bar to open the destination menu.
3. Choose Destination Group
Select the group you want to transfer the student to (or select Unassigned to move them back to the top level).
Removing a Student
If you are no longer tutoring a student, click the trash icon () next to their individual name to disconnect the account.
Sending Announcements & Messages
Need to send a lesson reminder, schedule update, or study tip? You can broadcast one-way announcements to individual students or entire groups at once.
1. Open the Announcement Dialog
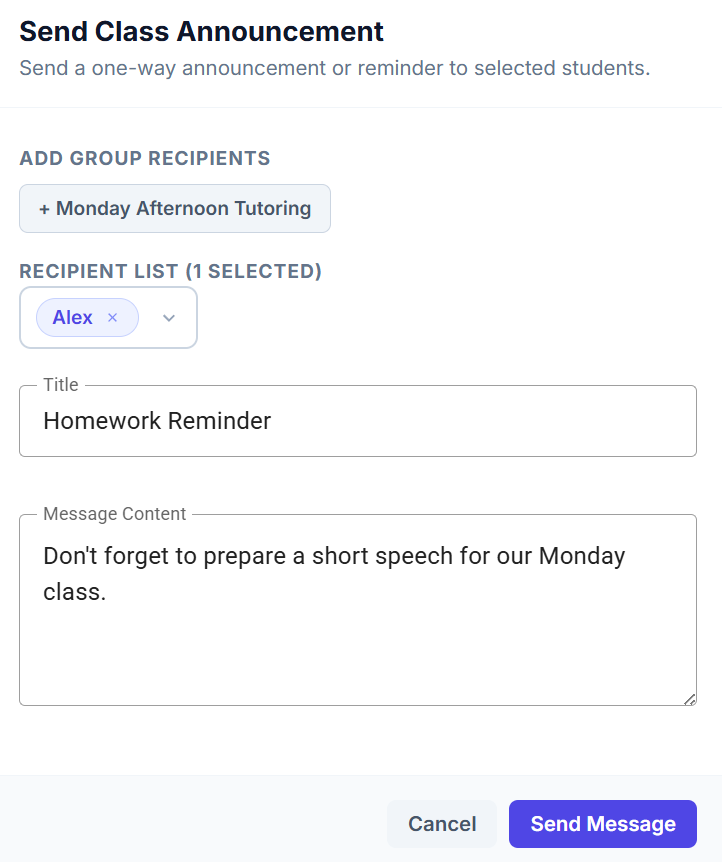
Click the icon in the top header of the Class Groups card.
2. Choose Recipients
- Add Whole Groups: Click any + Group Name pill to select all students in that group in one click.
- Individual Students: Pick specific students directly from the recipient dropdown.
What Students See
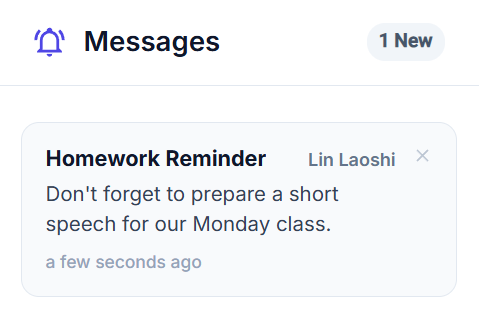
As soon as you send an announcement, your students receive an alert on their home dashboard under their Messages widget: